


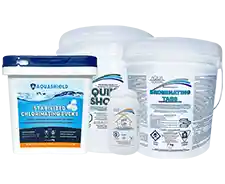
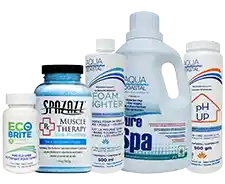


Accessory Package Options

Proudly Canadian


HOW can we help YOU?

Pool Owner Guide

Above Ground Pools

Inground Pools

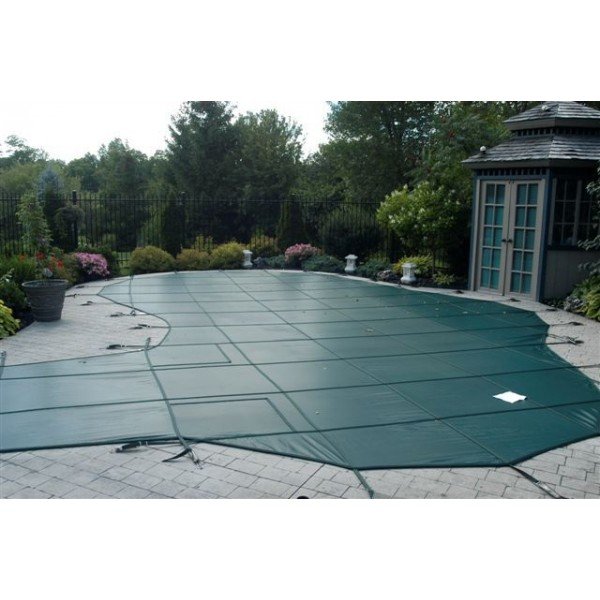
Pool Opening & Closing

Pool Water Chemistry
Your Cart
Looks like there’s nothing in your cart.
We can help with that.
Pool Owner Guide
Above Ground Pools
Inground Pools
Pool Opening & Closing
Pool Water Chemistry
Looks like there’s nothing in your cart.
We can help with that.